
If you want to customize your PC tower to make it truly your own, then this is for you. Here are the best ways to mod your PC to make it unique out of all other rigs. By the time you’re done reading, you’ll have all the information you need to create a one-of-a-kind rig that everyone will be jealous of. You can even show it off on your stream and start taking custom orders from aspiring customers!
Welding
One of the best ways to customize your PC is by welding. This method can be used to create custom cases, fan mounts, GPU mounts, and other one-off pieces that really make your rig stand out from the rest. If you’re not familiar with welding, it’s simply the process of joining two pieces of metal together using heat and pressure. While it may seem daunting at first, welding is actually quite easy to learn and there are plenty of resources available to help you get started.
The easiest style of welding to learn is MIG welding. Get the following equipment to try MIG welding:
- Welding machine
- MIG welding gun
- Gas tank and appropriate shielding gas
- Welding wire
- Hoses
- Hose clamps
- Magnets and clamps for metal
- Workbench
- Welding mask
- Welding gloves
- KN95 mask for fumes
Painting
Another great way to customize your PC tower is by painting it. This is a great option if you want to change the color of your rig or add some unique graphics. When painting your PC, it’s important to use high-quality paint so that it doesn’t chip or fade over time. You’ll also want to use several thin coats so that the paint evenly covers the surface. When painting the interior of the case, you can even opt for high-temperature paint so that the coat doesn’t break down when you stress-test your rig or run AAA games on ultra settings. This is especially important since some parts can run at about 90 degrees Celsius or 154 degrees Fahrenheit—most acrylic- and oil-based paint develop problems at that temperature.
When painting, you can try out traditional brush painting or airbrushing. Airbrushing is great for changing the whole coat or adding intricate details and graphics that would be difficult to achieve with traditional painting methods, such as adding color gradients.
3D Printing
3D printing is another great way to customize your PC. This method can be used to create custom parts such as GPU mounts, clamps, and cases. 3D printing is also great for creating one-off pieces that make your build unique.
To get started with 3D printing, you’ll need a 3D printer and some filament. The type of filament you use will depend on the type of printer you have. There are a variety of filaments available, including PLA, ABS, and PETG. Once you have the filament, you can start creating designs using a CAD software program. There are a number of programs available, including SolidWorks, Autodesk Fusion 360, and TinkerCAD.
Once you have your design ready, you can print it using your 3D printer. It’s important to note that not all printers are created equal. Some printers are better suited for small prints while others are better for large prints. You’ll also want to make sure that your printer has a high resolution so that the print is accurate and high quality.
If you’re new to 3D printing, it’s a good idea to start with simple designs and work your way up to more complex designs. There are plenty of resources available online to help you get started, including tutorials and project files. With a little practice, you’ll be able to create amazing prints that will take your PC customization to the next level!
Apply Prints, Skins, and Labels
One easy way to customize your PC tower is by using printed stickers and labels. This is a great option if you want to add some unique graphics or text to your rig. When choosing stickers and labels, it’s important to pick a high-quality brand that will stand up to wear and tear. You’ll also want to make sure that the stickers and labels are water-resistant so that they don’t fade or peel over time.
There are a variety of different types of stickers and labels available, including vinyl, metallic, and fluorescent. You can also find stickers and labels in a variety of sizes and shapes, so you can find the perfect fit for your build.
Once you’ve chosen the stickers and labels you want to use, it’s time to start installing them. The installation process will vary depending on the type of sticker or label you’re using. For example, vinyl stickers can be installed using an adhesive backing, while metallic stickers require heat to adhere to the surface.
Alternatively, if you have an industrial-looking build with lots of dark or exposed metal, you should consider using marking fluids for steel. These create marks on metal that cannot be erased, and they look as crisp as stickers. In addition, they’re also easy to put on; you just need a stencil and a welding brush. If you know how to weld, this is much easier to do.

Things to Remember
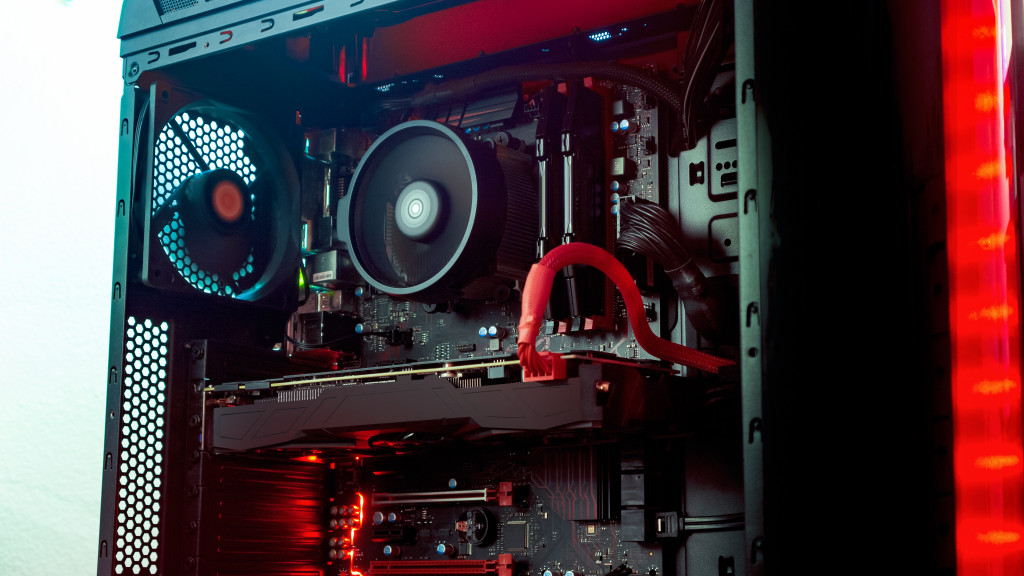
Cable Management
Cable management is an important part of any rig build, but it’s also an area where many people struggle. If done properly, cable management can make your rig look much cleaner and more organized. It also optimizes airflow inside a case if you’re using air cooling. Even if you’re running a water-cooling system or an AIO, you need cable management so that you can keep the area clear for the hoses.
There are a few different ways to approach cable management, but one of the most popular methods is using zip ties or velcro straps to keep everything in place. Another option is to use sleeved cables, which are specifically designed for easy cable management. Whichever method you choose, just make sure that everything is neatly routed and secured so that it doesn’t come loose over time.
Check for loose connections and spills
Coolant spills and loose connections can lead to a variety of negative effects, including short-circuiting, data loss, and component damage. In addition, spills can also cause corrosion and create a fire hazard. If you notice any spills or loose connections, it’s important to address them immediately to prevent any damage from occurring.
If you’re not sure how to fix a spill or fix a loose connection, there are plenty of resources available online, like tutorial videos on YouTube. In addition, most PC builders offer support forums where you can ask for help. It’s always better to be safe than sorry, so be sure to check for any potential issues before powering on your rig!
Final Thoughts
Building your own PC can be a fun and rewarding experience, but it’s important to remember that there are some risks involved. By following the tips in this article, you can help minimize those risks and create a system that is both powerful and safe. We hope you enjoy building your dream PC!